The Crossland CC1 Review
May 11, 2025
I've been using a Crossland CC1 just about daily as my home espresso machine since 2020. The CC1 is my first "real" machine, having begun my home espresso journey with my Delonghi EC155 back in 2013 (and having begun my espresso journey in general when I got a job at Chrissy Beanz in Sackets Harbor back in 2012).
Overall, I highly recommend the CC1. It is a well-priced, well-featured, reliable, thoughtfully designed espresso machine that, perhaps most importantly, pulls a damn fine shot of espresso and froths a damn fine pitcher of milk.
The CC1 does have some downsides. This post explores those downsides in detail. But my overall assessment remains: if you have the means, I highly recommend it.
Specifications
Let's begin with the basics. What is the CC1?
- measures:
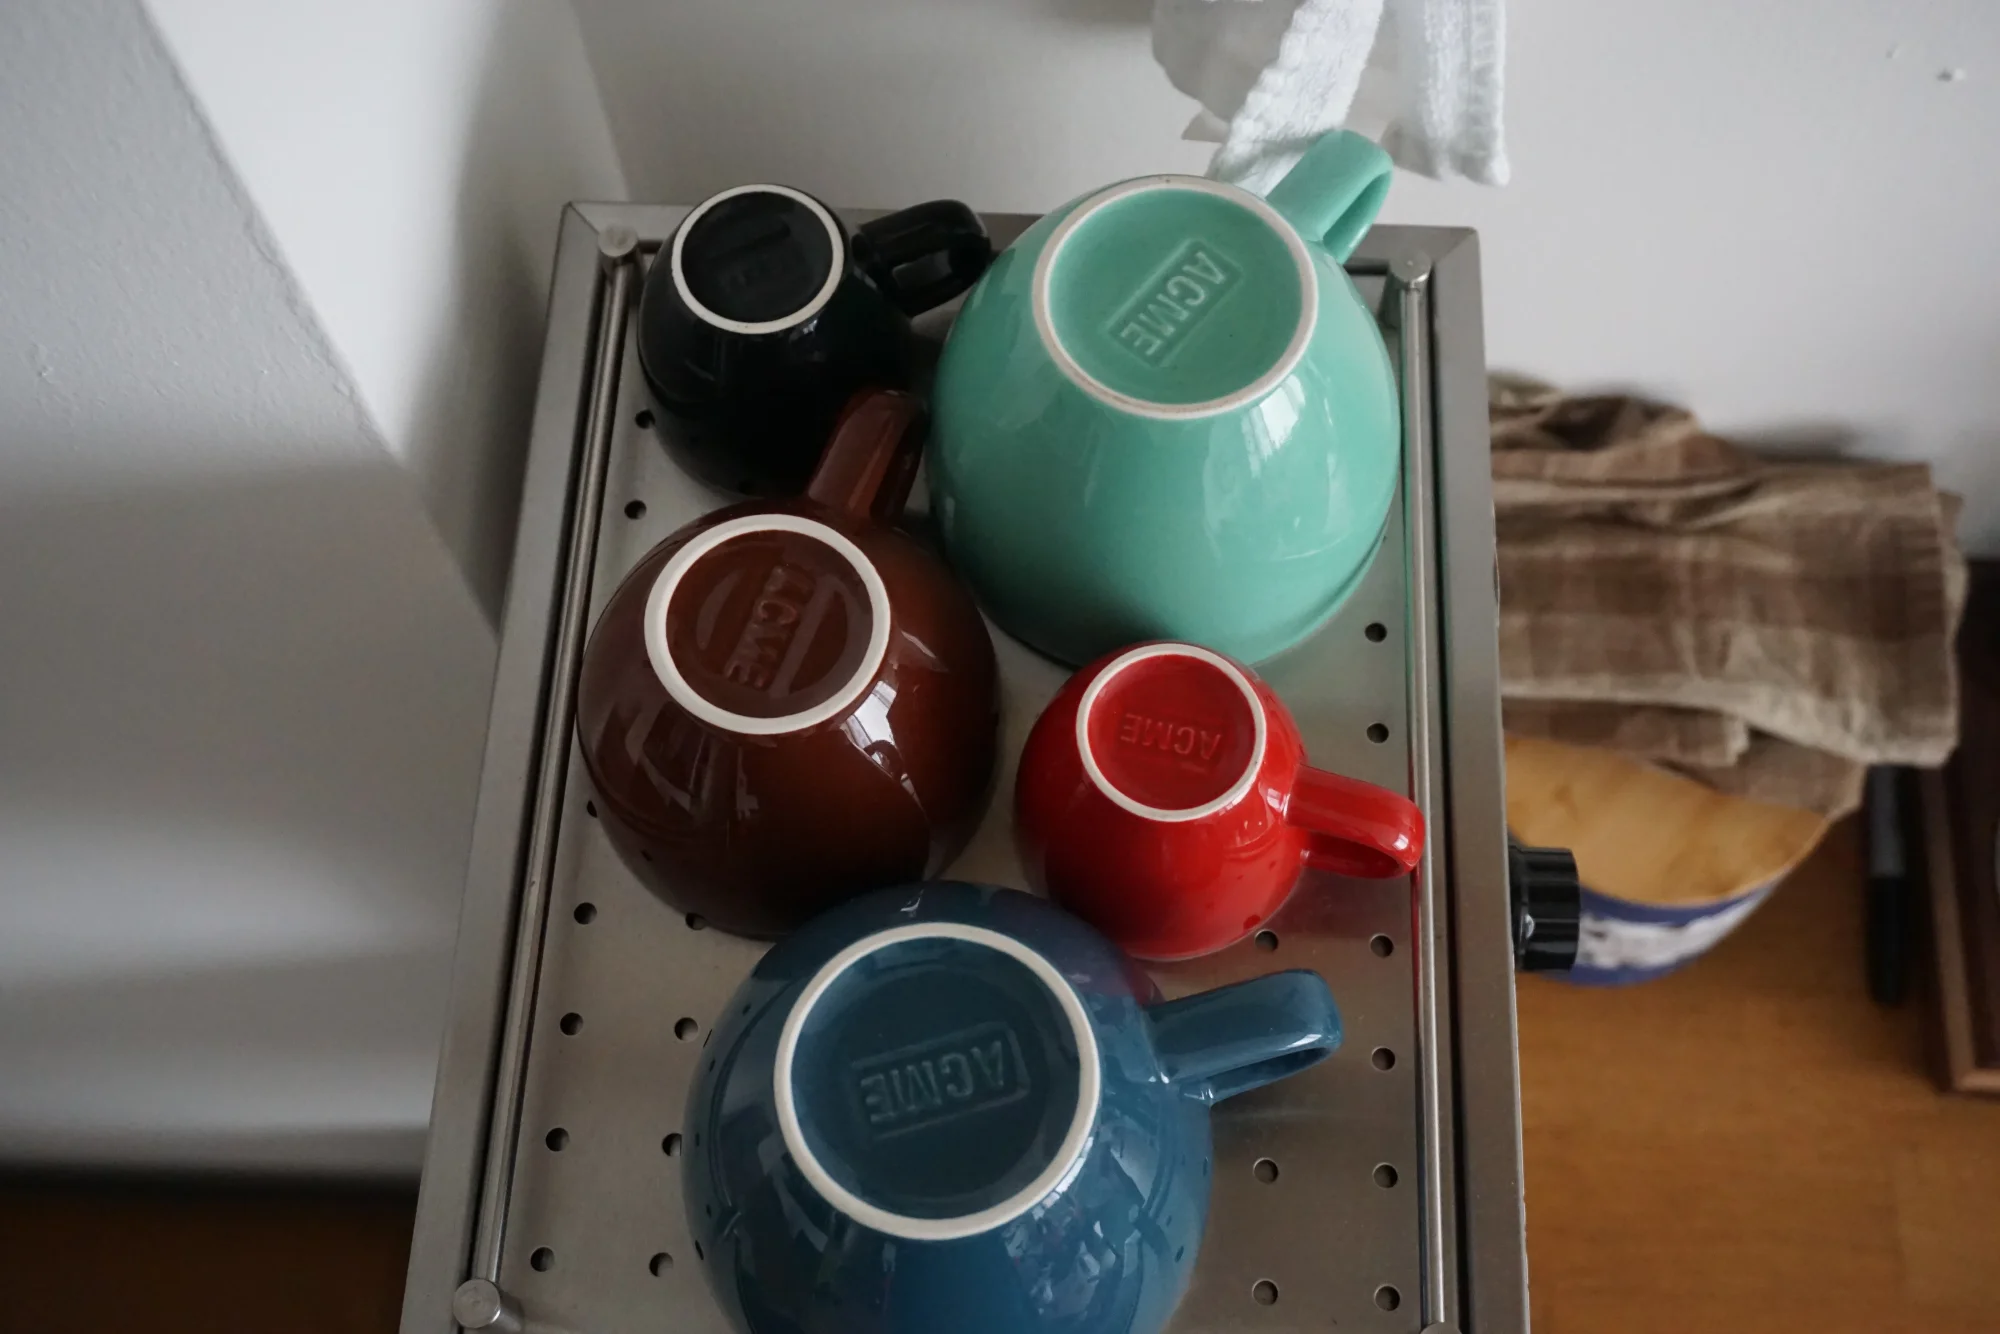
- 15.6" high (not including overhead space, perhaps 4-5", you might want for mugs on the top-level warming tray)
- 12.6" deep (not including the portafilter; when mounted, it adds an extra 2.8" of depth)
- 9.1" wide (not including space needed to use the frothing wand and reach the power switch, perhaps 2-4" depending on your steaming needs)
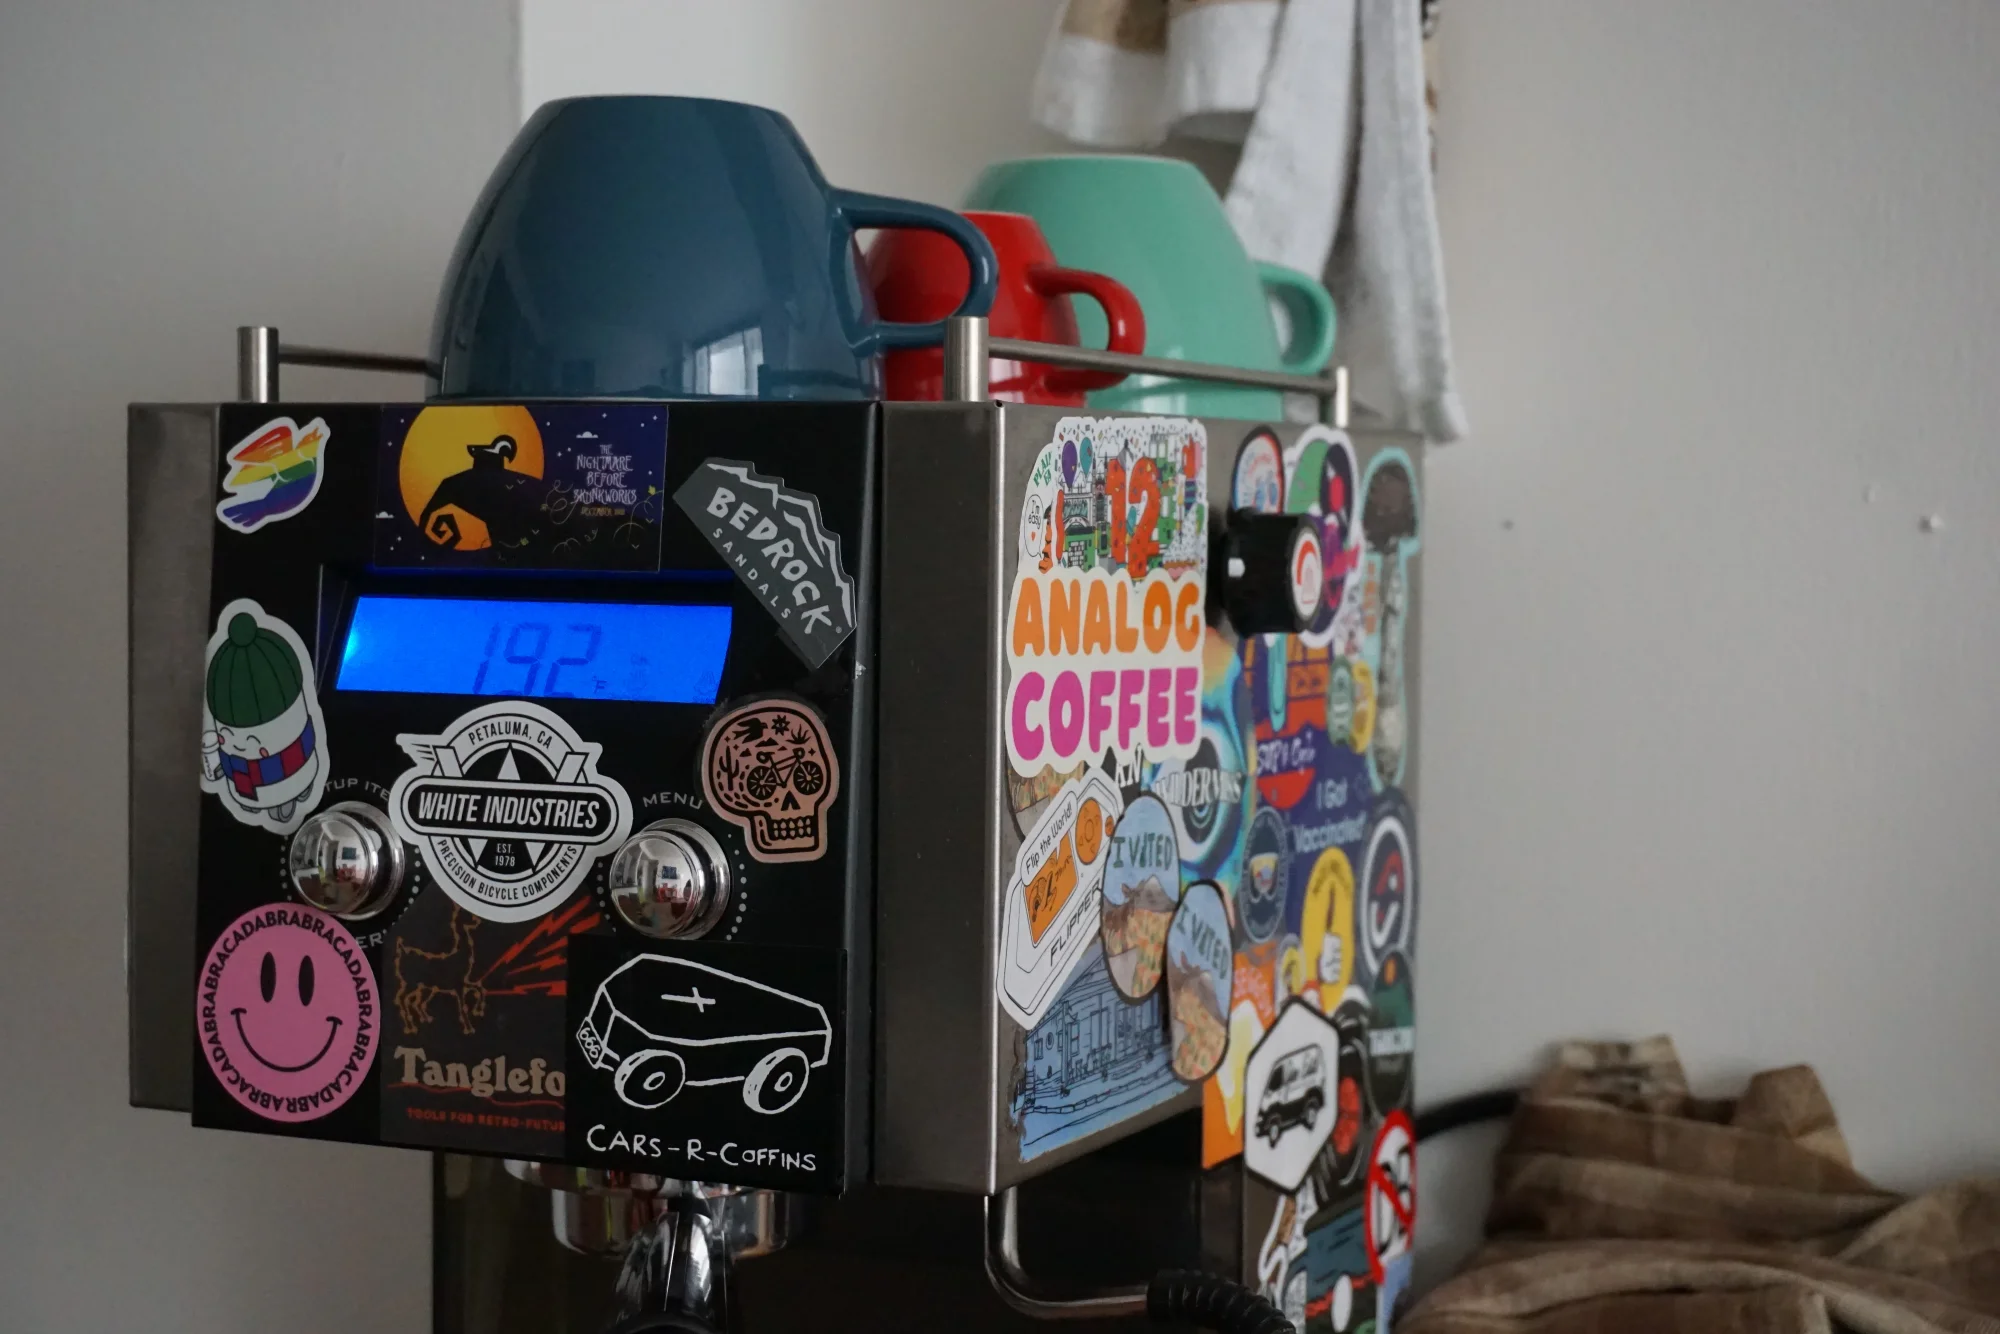
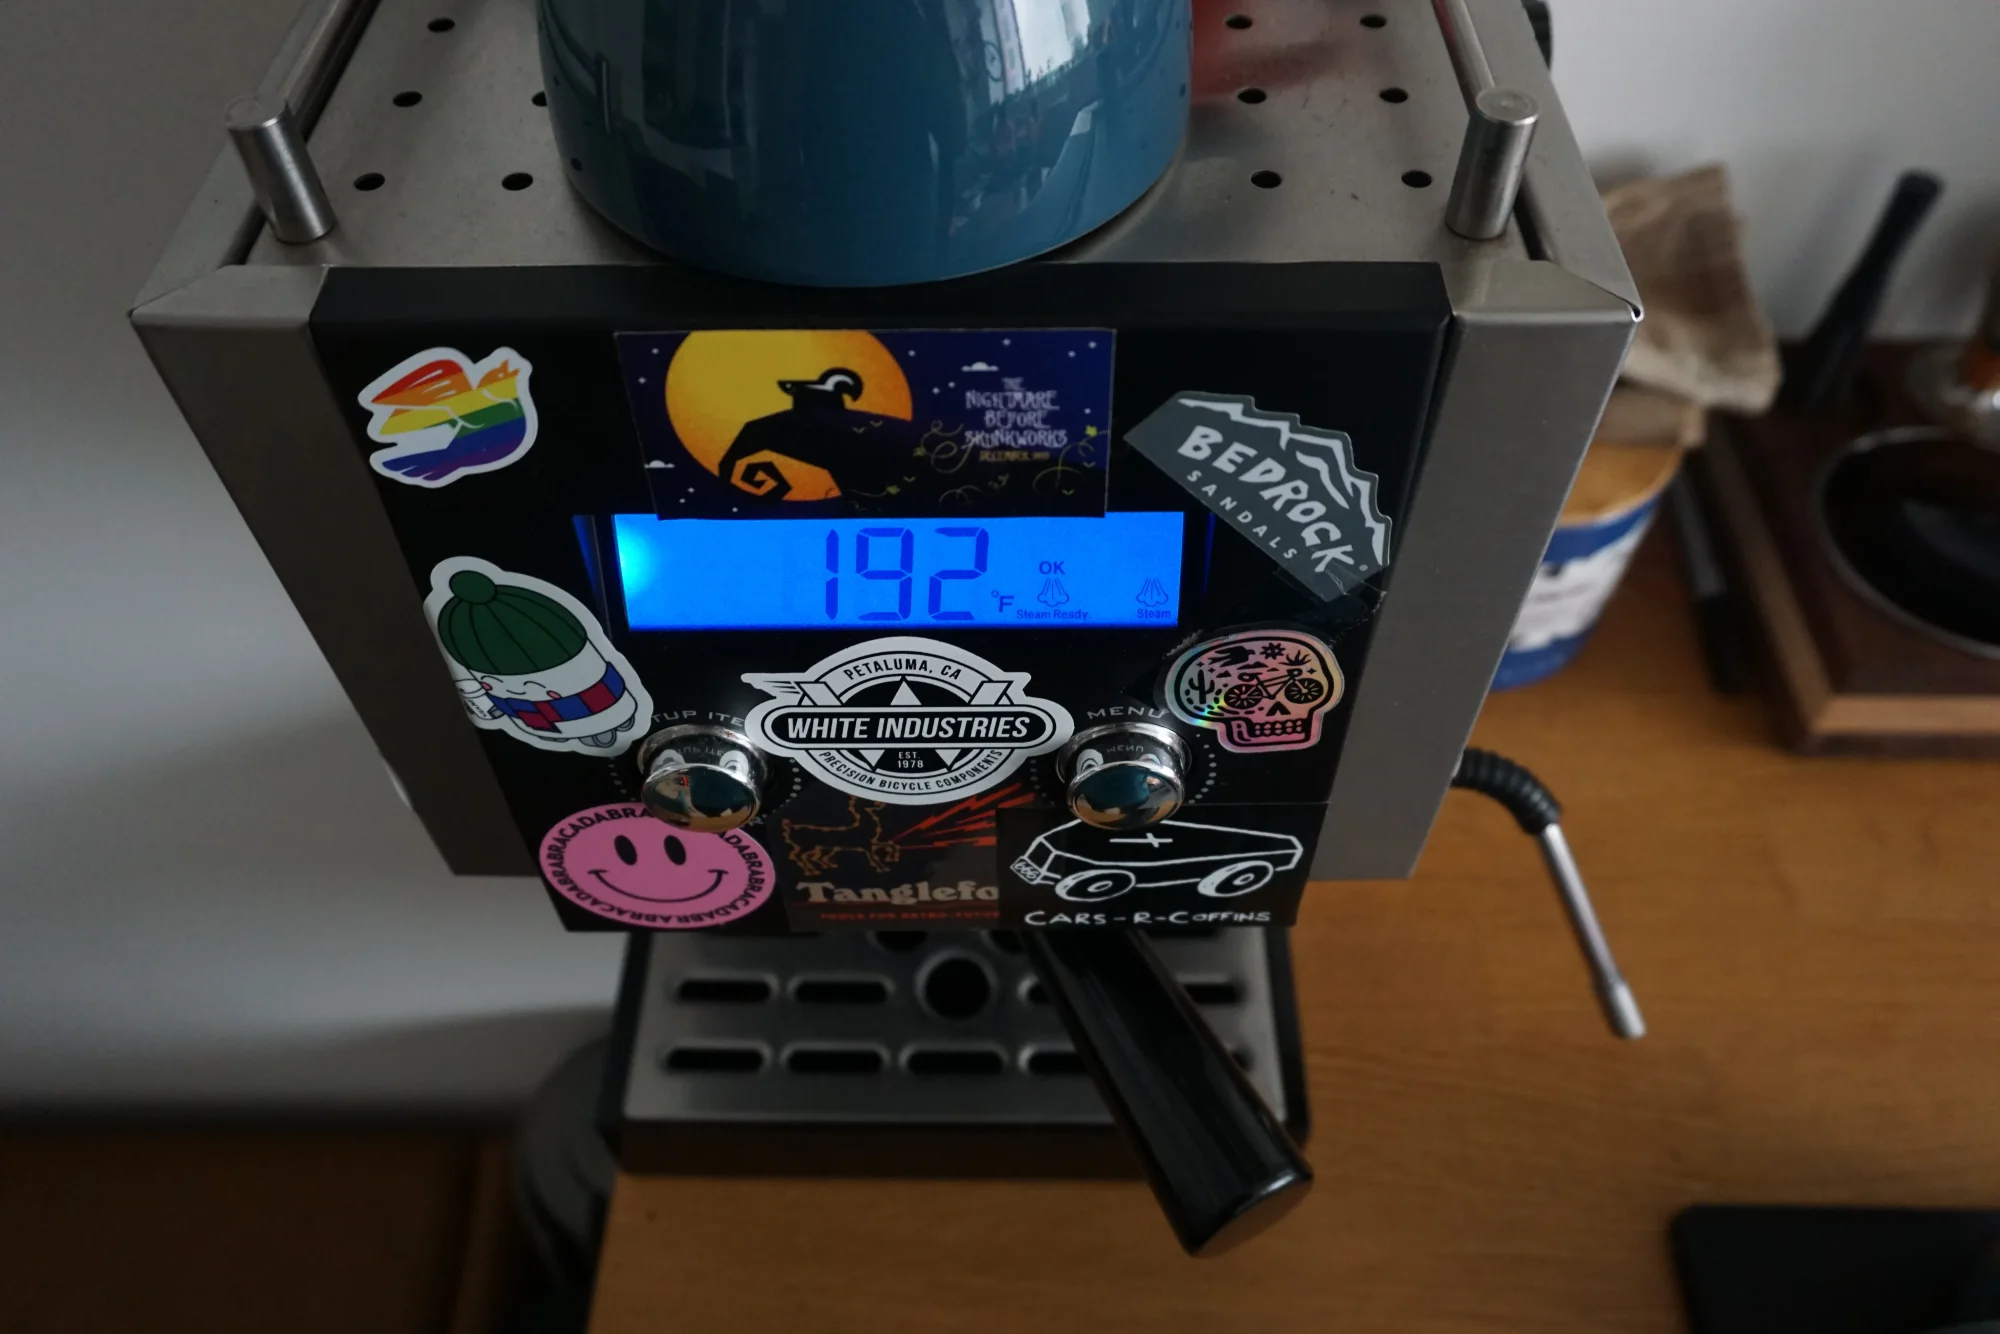
- two shiny plastic button-dials (buttons that also spin as dials) and a very basic LCD display on the front; a power switch at the rear right side; a steam wand control dial at the top right, near the front
- a 58mm industry standard portafilter with mounting hardware almost, but not entirely unlike that of the Rancilio Silvia -- in my experience, you can mount a Silvia portafilter... until one day it slips and you have to clean up a very messy depressurization
- a ~1.7L water tank, accessible behind the portafilter mount only when the portafilter is NOT mounted -- when mounted, you can only pull the tank out an inch or so
- a plastic drip tray with a stainless steel grate that holds perhaps a quarter of a liter, since the solenoid drains through a hole cut into the back side of the tray about 2/3 of the way up the tray
- ~4.2" of space between the drip tray grate and the bottom of the included portafilter; with a bottomless portafilter, this increases to ~4.8"
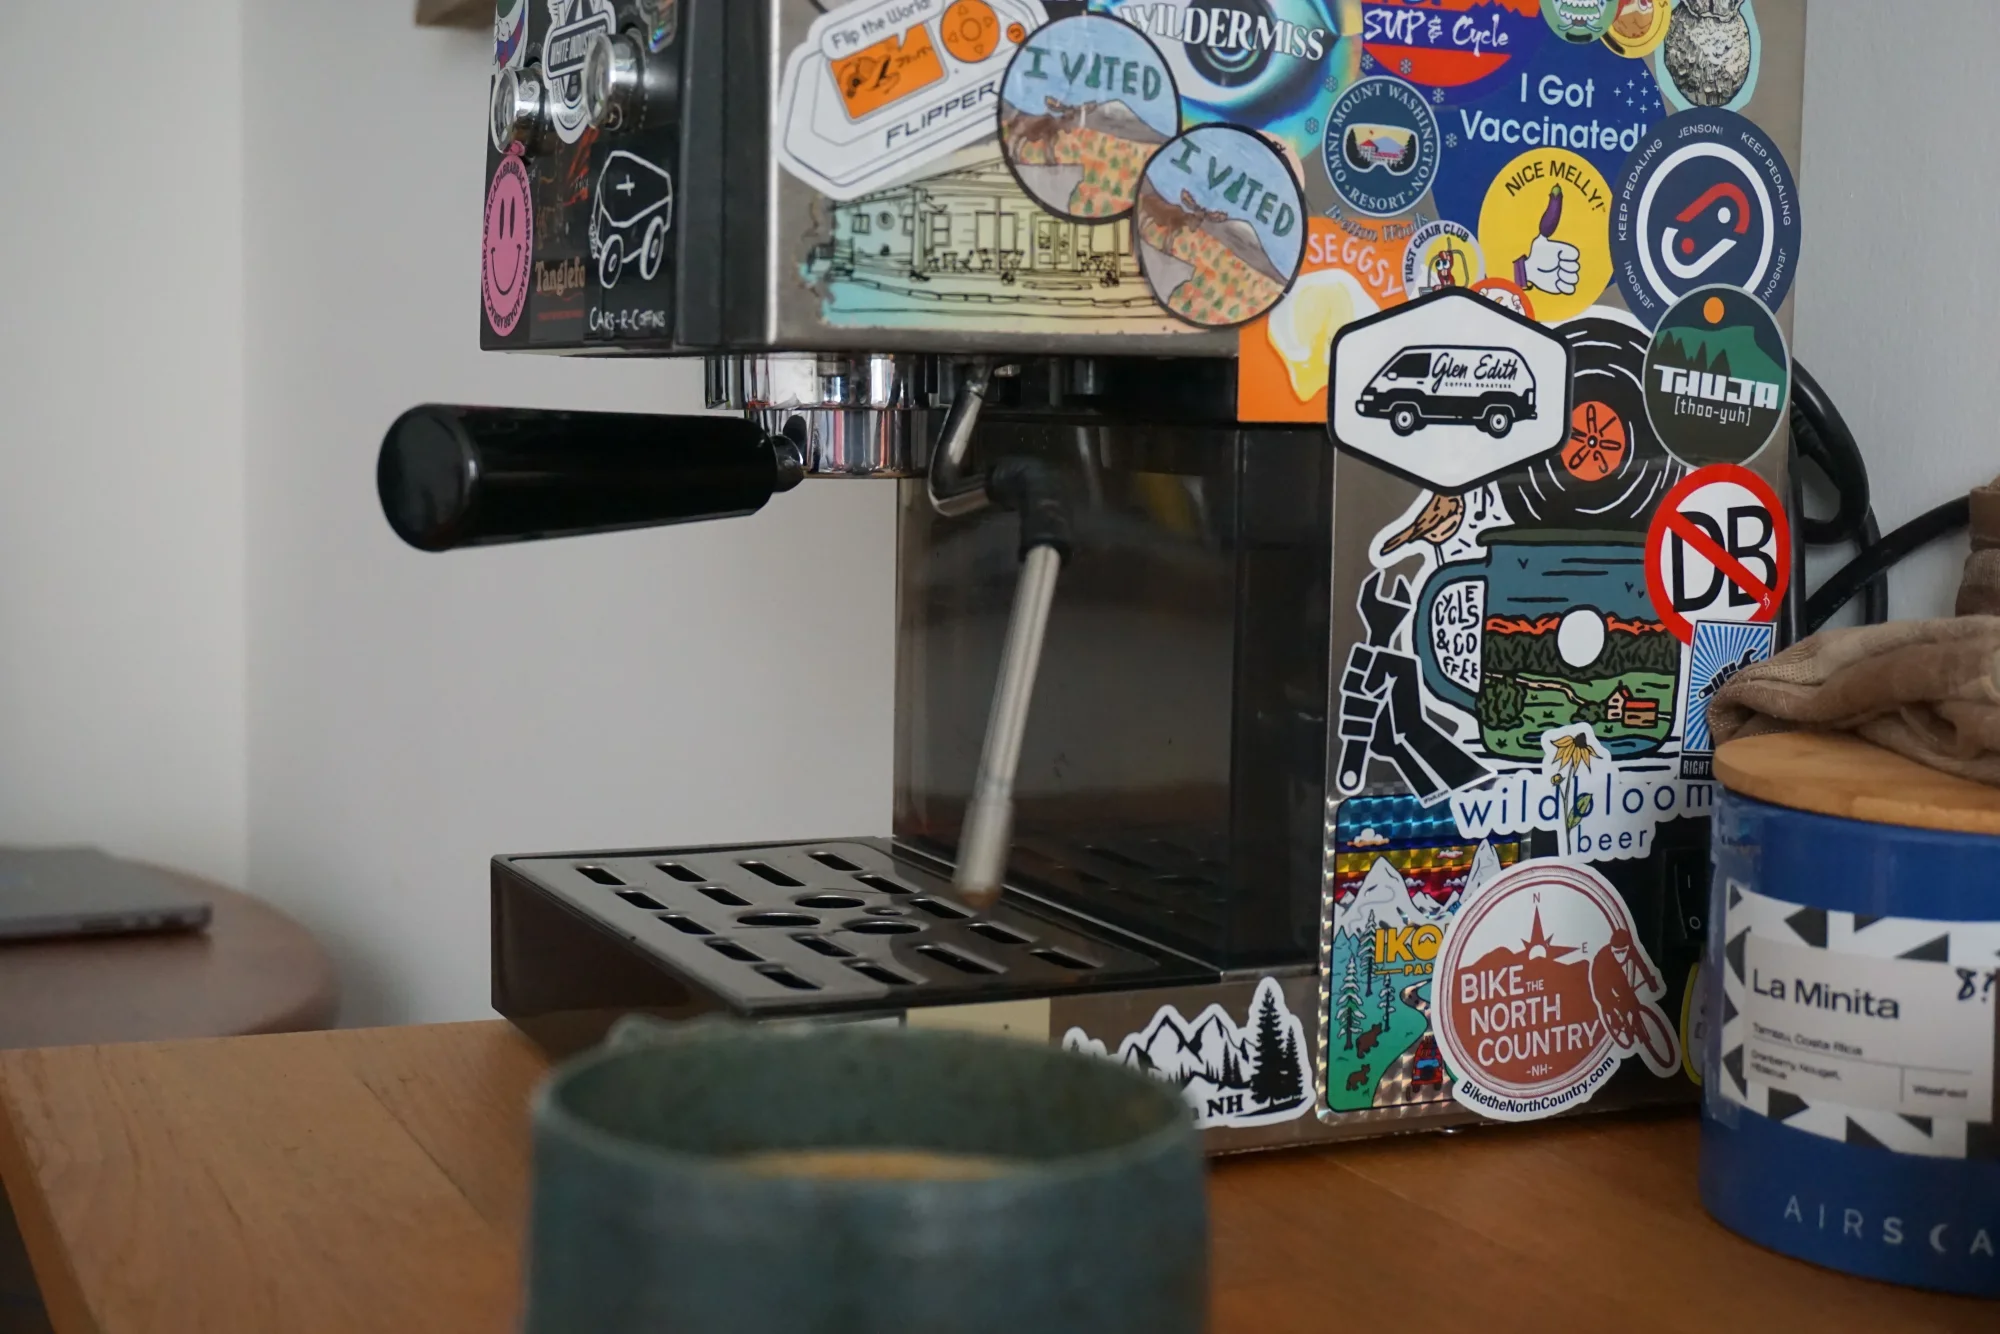
- a right-side-mounted, thermoblock-powered, single hole outlet frothing wand
- a 500mL stainless steel boiler
- 3 programmable shot settings, named "1 Cup Espresso", "2 Cup Espresso", and "Pod" (the names are meaningless and only serve to distinguish the settings)
- solenoid that drains lingering puck liquid out of the portafilter into the drip tray
- designed by Bill Crossland, who helped design the GS3 at La Marzocco
- simple compared to Breville/Sage or Decent; more repairable and hackable than most computerized espresso machines
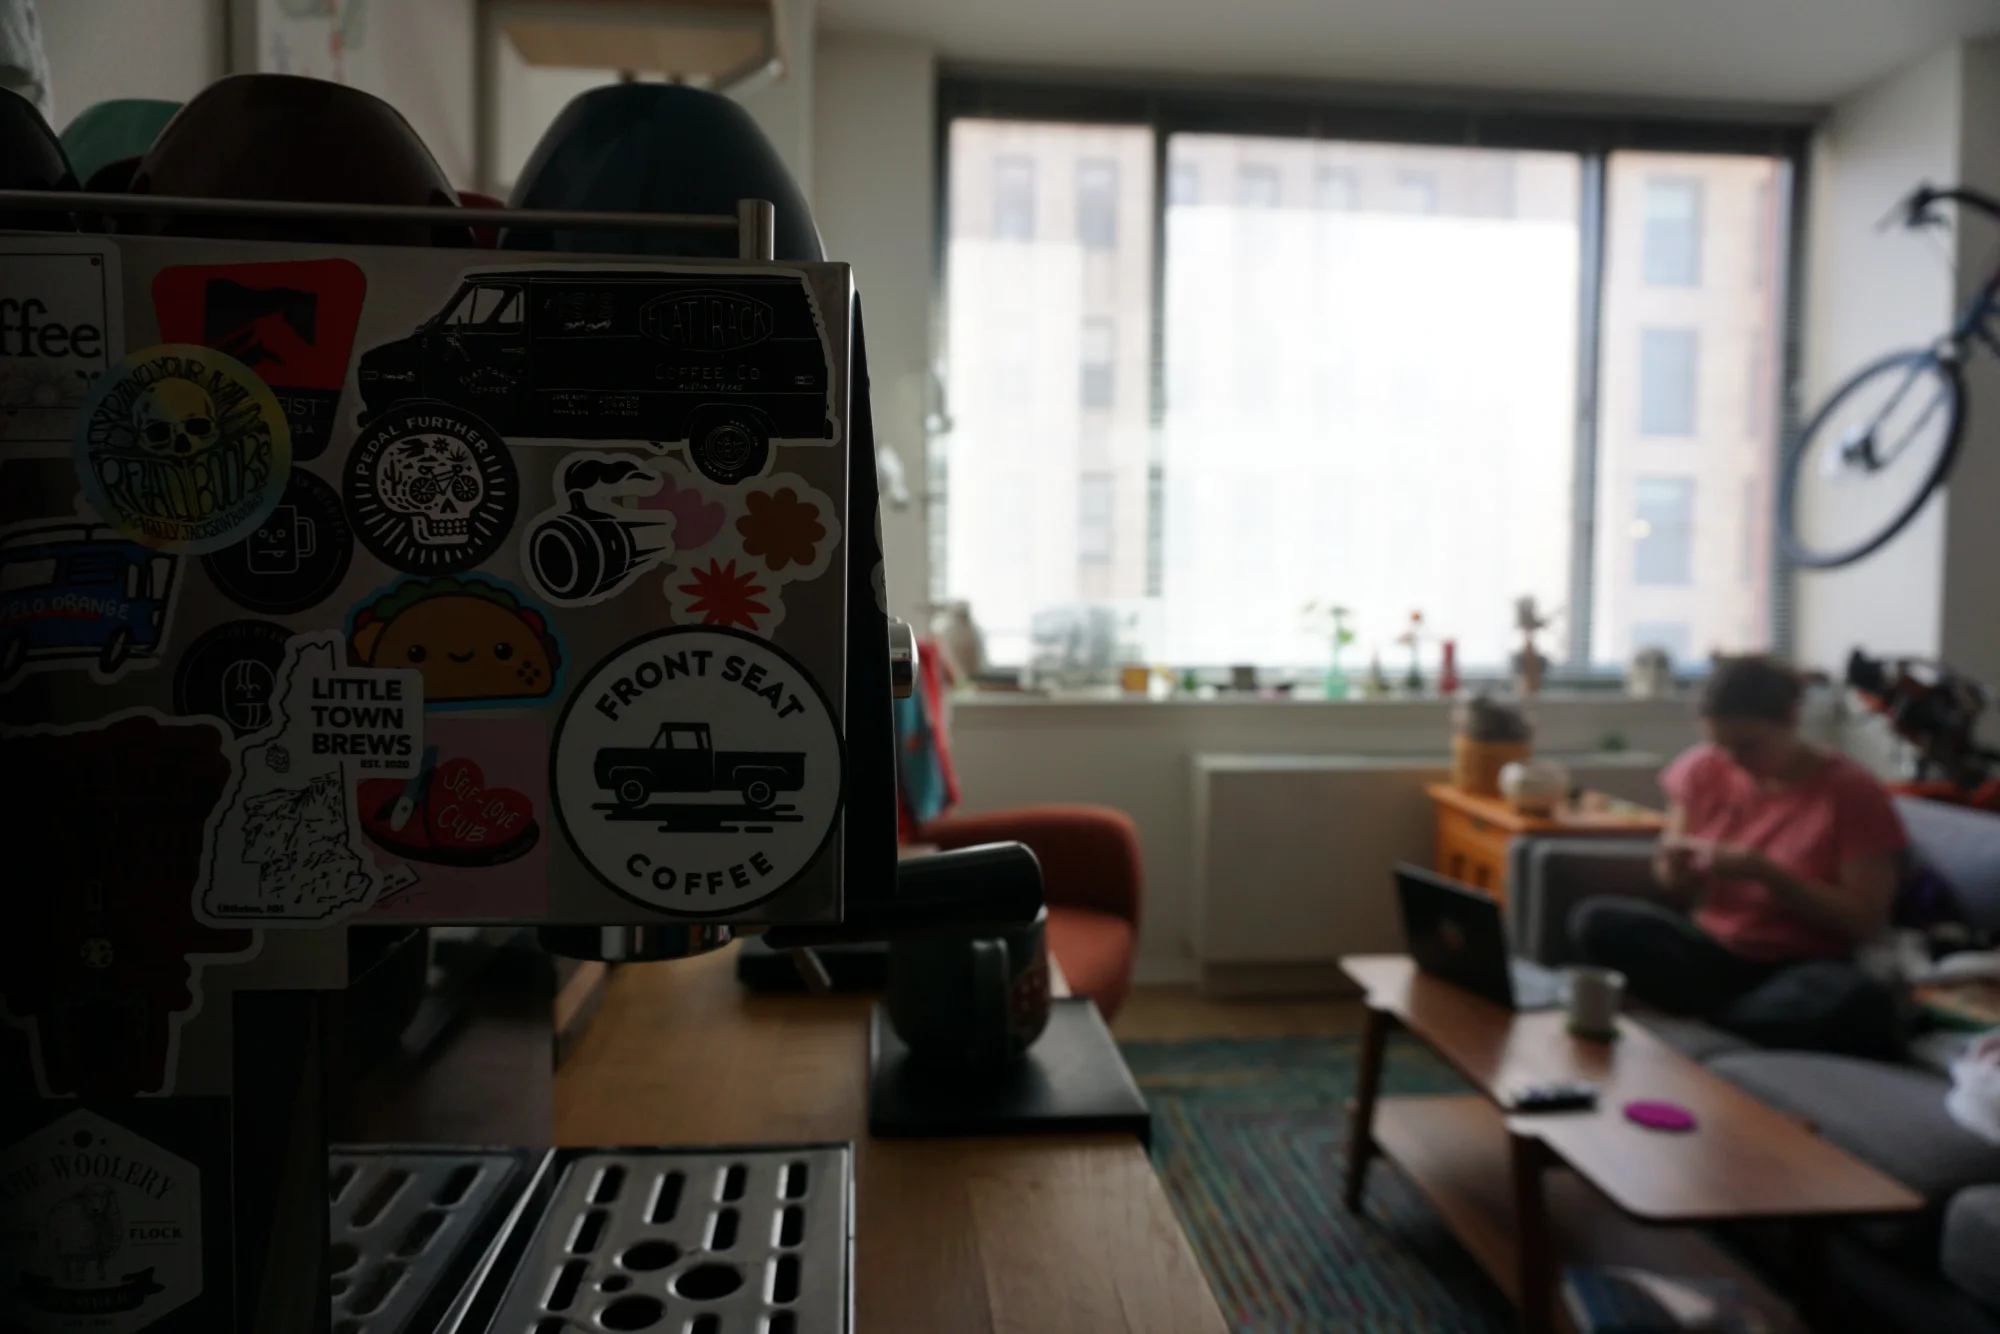
Design
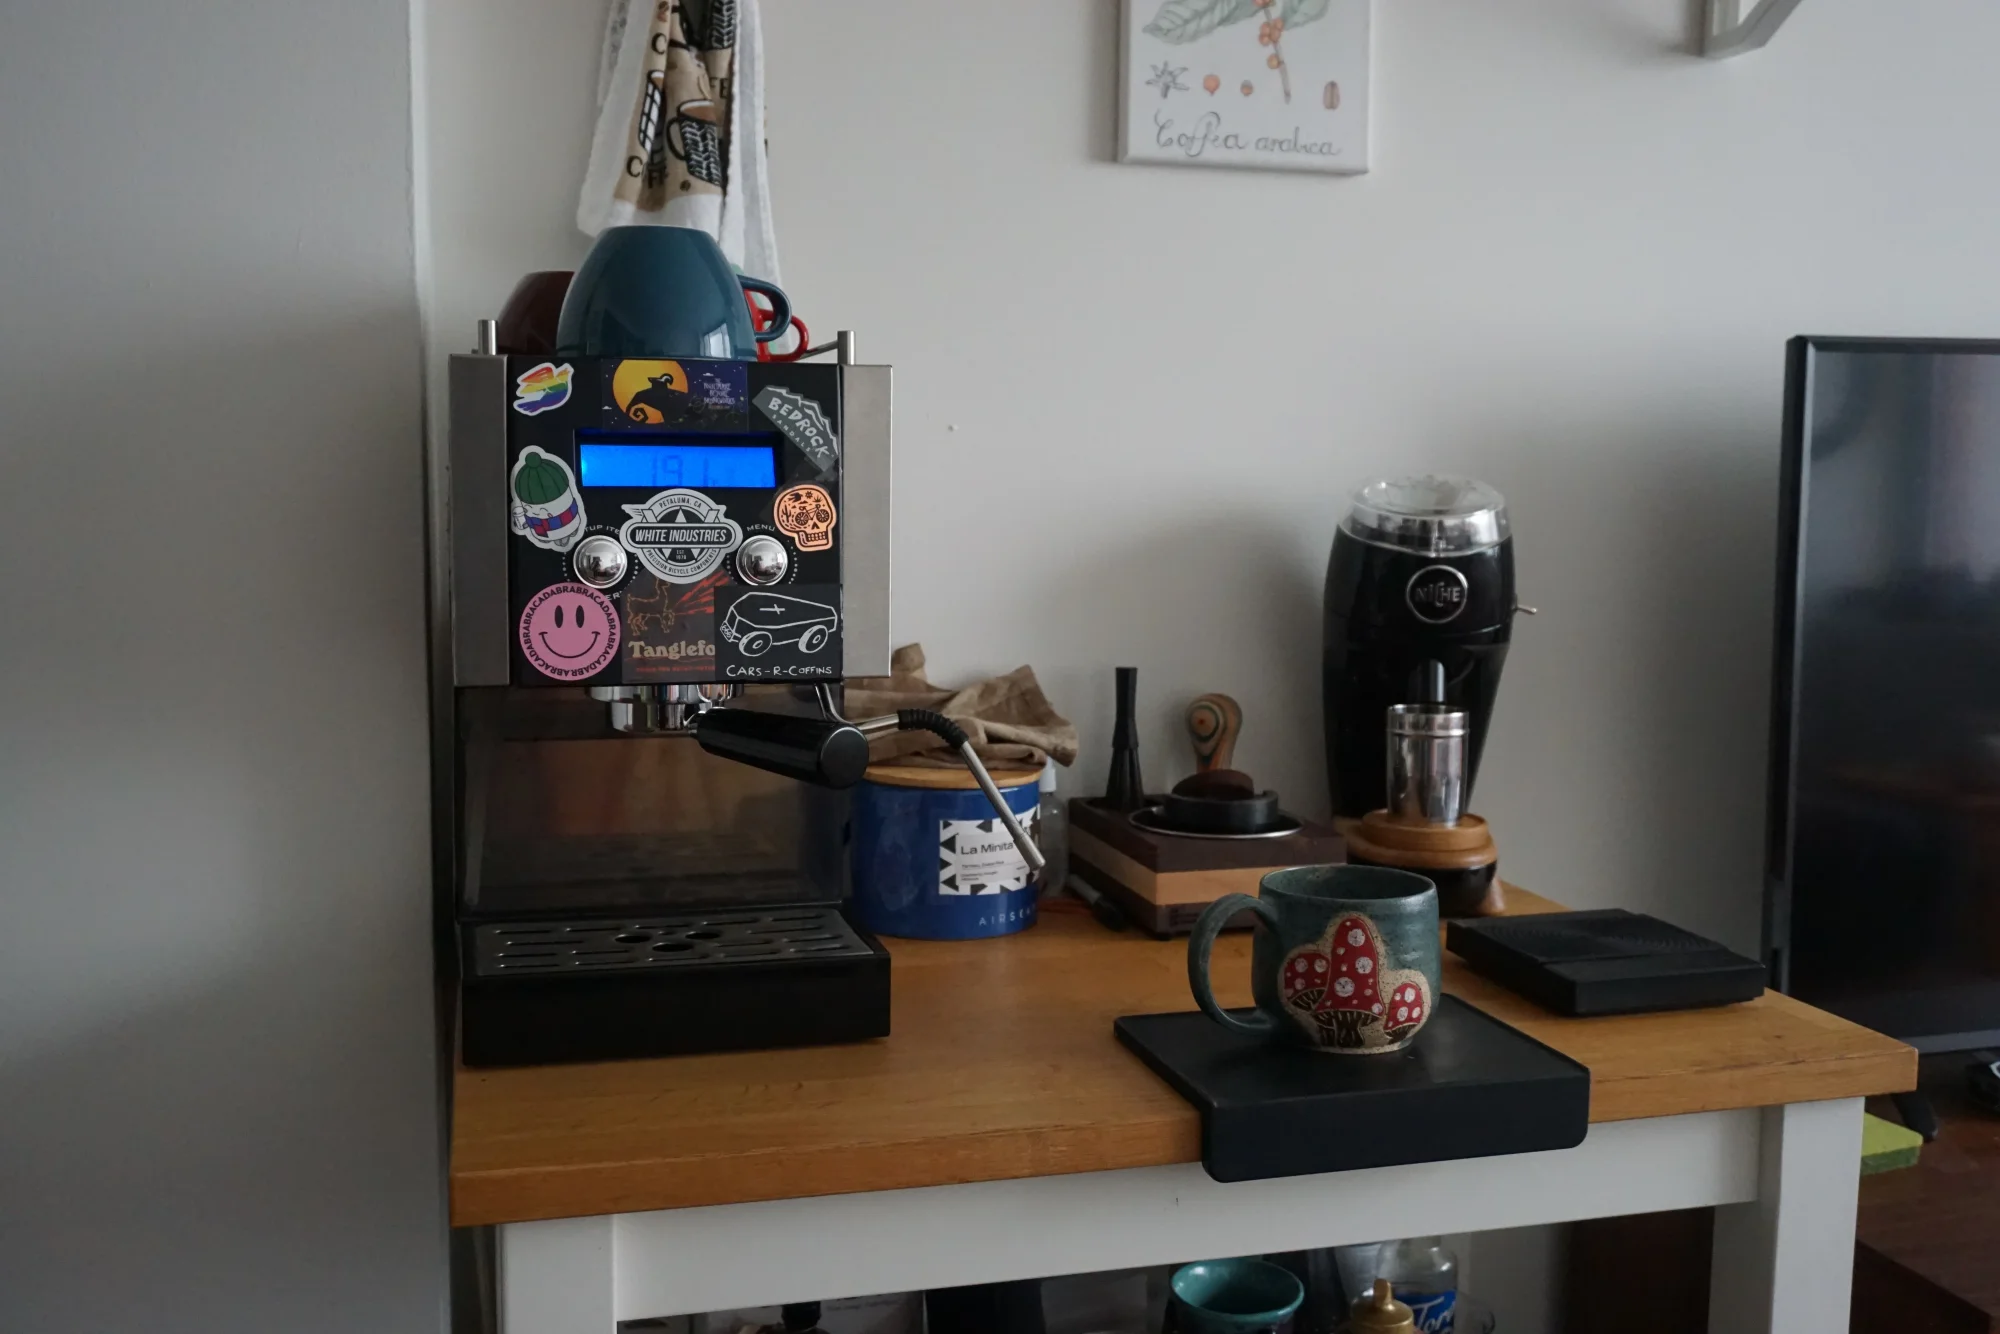
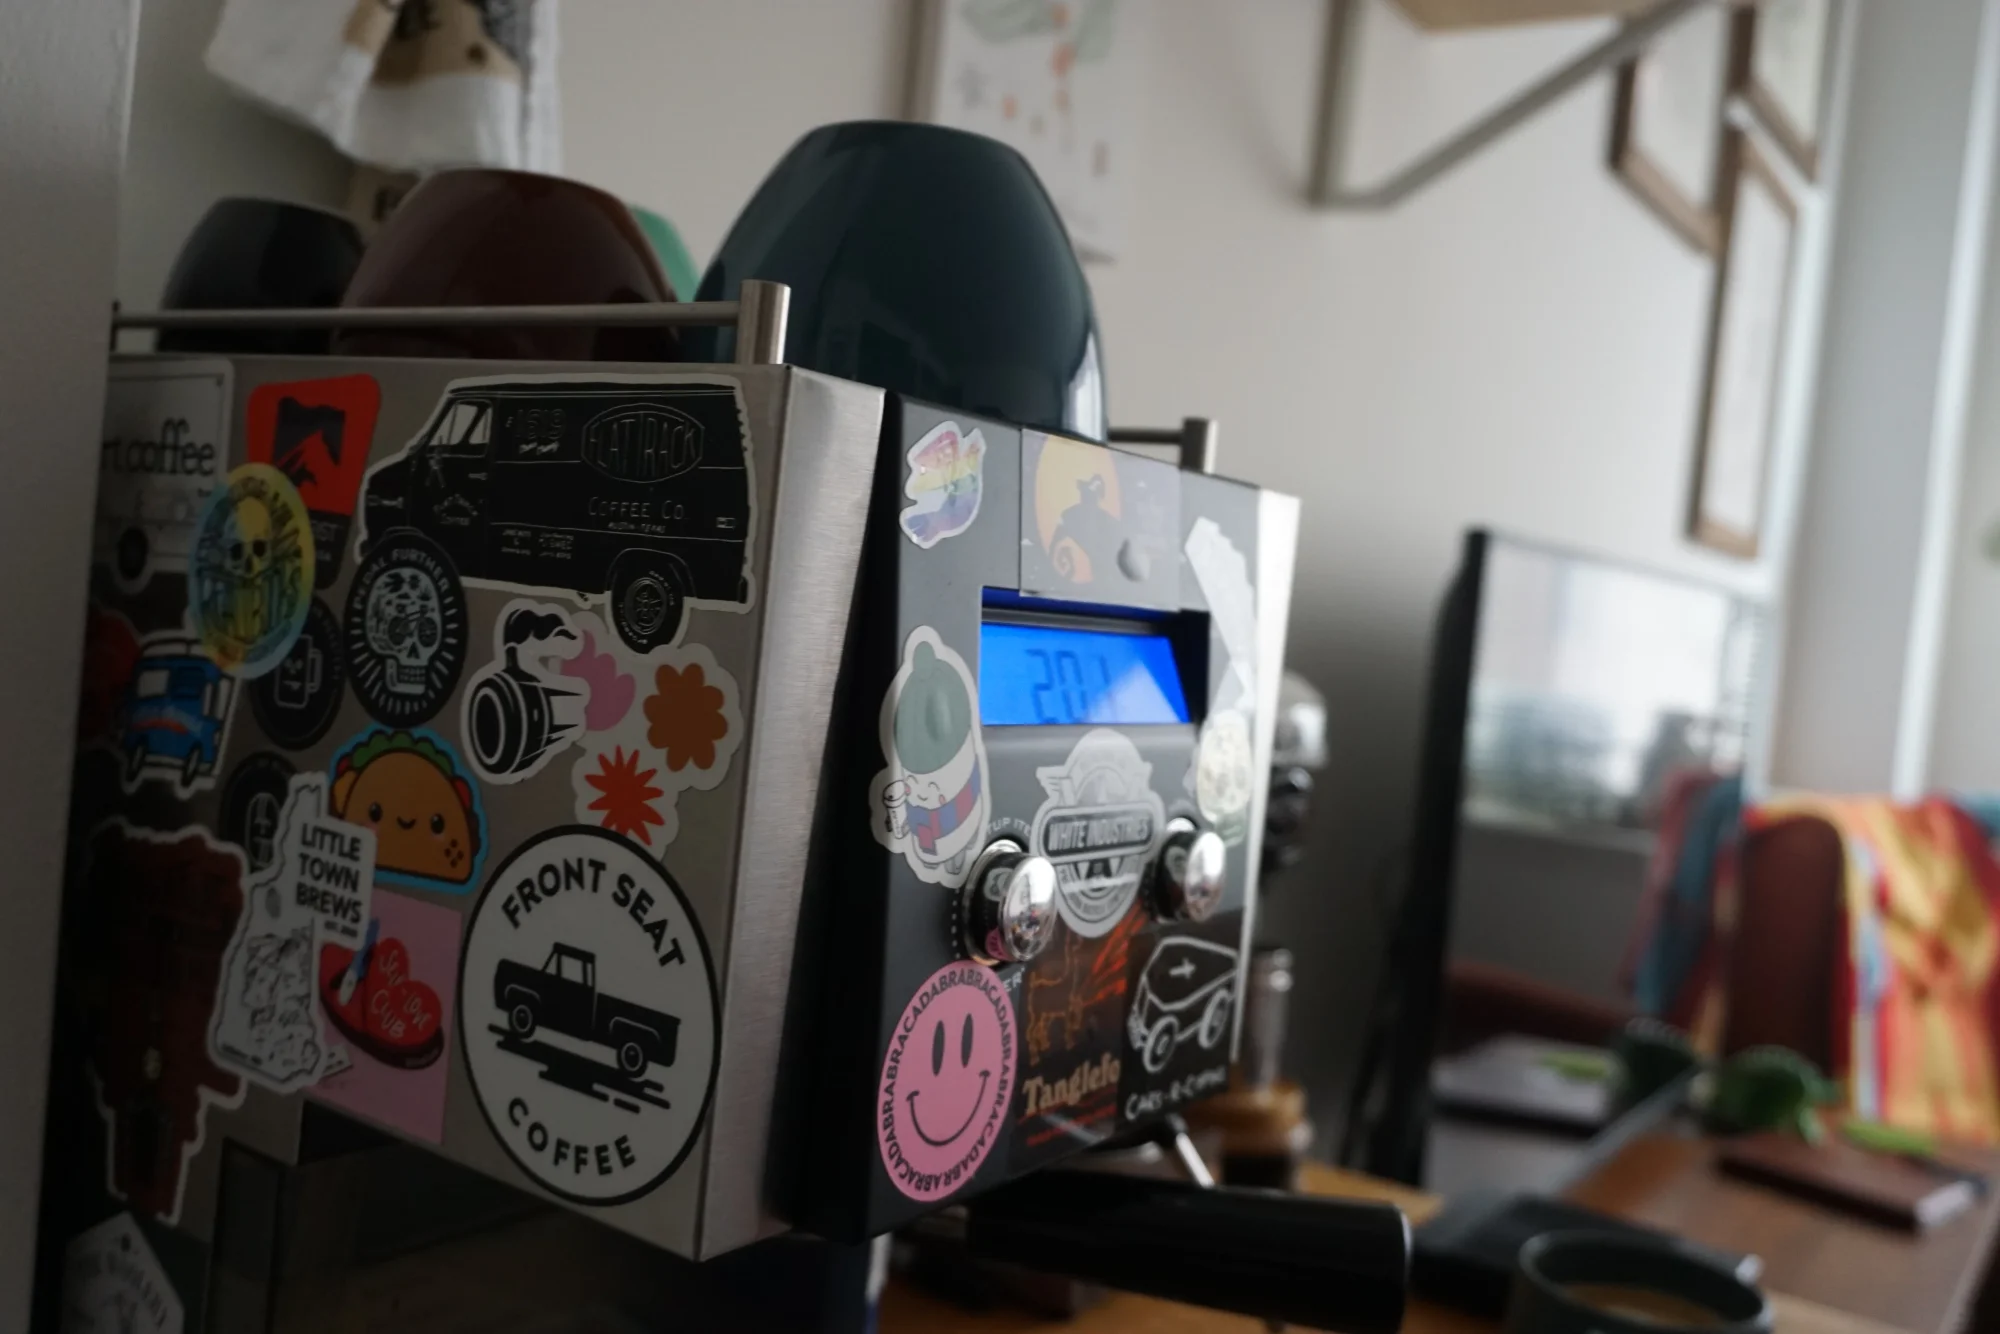
Perhaps usage should come first, but I would argue that you (not to mention every visitor in your home) will likely spend more time looking at the CC1 than using it. Unless you hide it in a cabinet or have a devastatingly serious caffeine problem. As a prominent member of your household, likely in your kitchen, living room, dining room, or an office, the CC1 is... passable. It is not ugly. It is quite possibly generic. Espresso aficionados, myself excluded, will not be impressed by the look of the CC1. It is utilitarian enough that it does not inspire envy. But you will also not be entirely embarrassed.
Standards are high in the espresso machine design world. Rocket, Rancillio, La Marzocca, even Gaggia make handsome, even beautiful machines. Walnut gleams. Steel shines with a mirror polish. Glass tastefully bends light. Beautiful? Sure. Fun to keep clean? I'll reserve my opinion.
Fellow is bringing a new sense of minimalist aesthetics to the space this very year with a new, gorgeous machine. Grinders made by Fellow, Niche, Baratza, Sette, and Eureka are, at a minimum, clean and industrial, but often clear the bar to beautiful. Even utilitarian grinders like the DF64/54 look impressive in the right context. And of course almost every other coffee accessory adheres to that same spare aesthetic, from the V60 pourover, to the classic moka pot design, to a wide variety of french presses, to the new wave of intelligent almost-pourover drip machines, to the crop of gooseneck kettles whose sale price outpaces inflation by over 100%. Each looks thoughtfully and carefully designed, right down to the Stagg snake game.
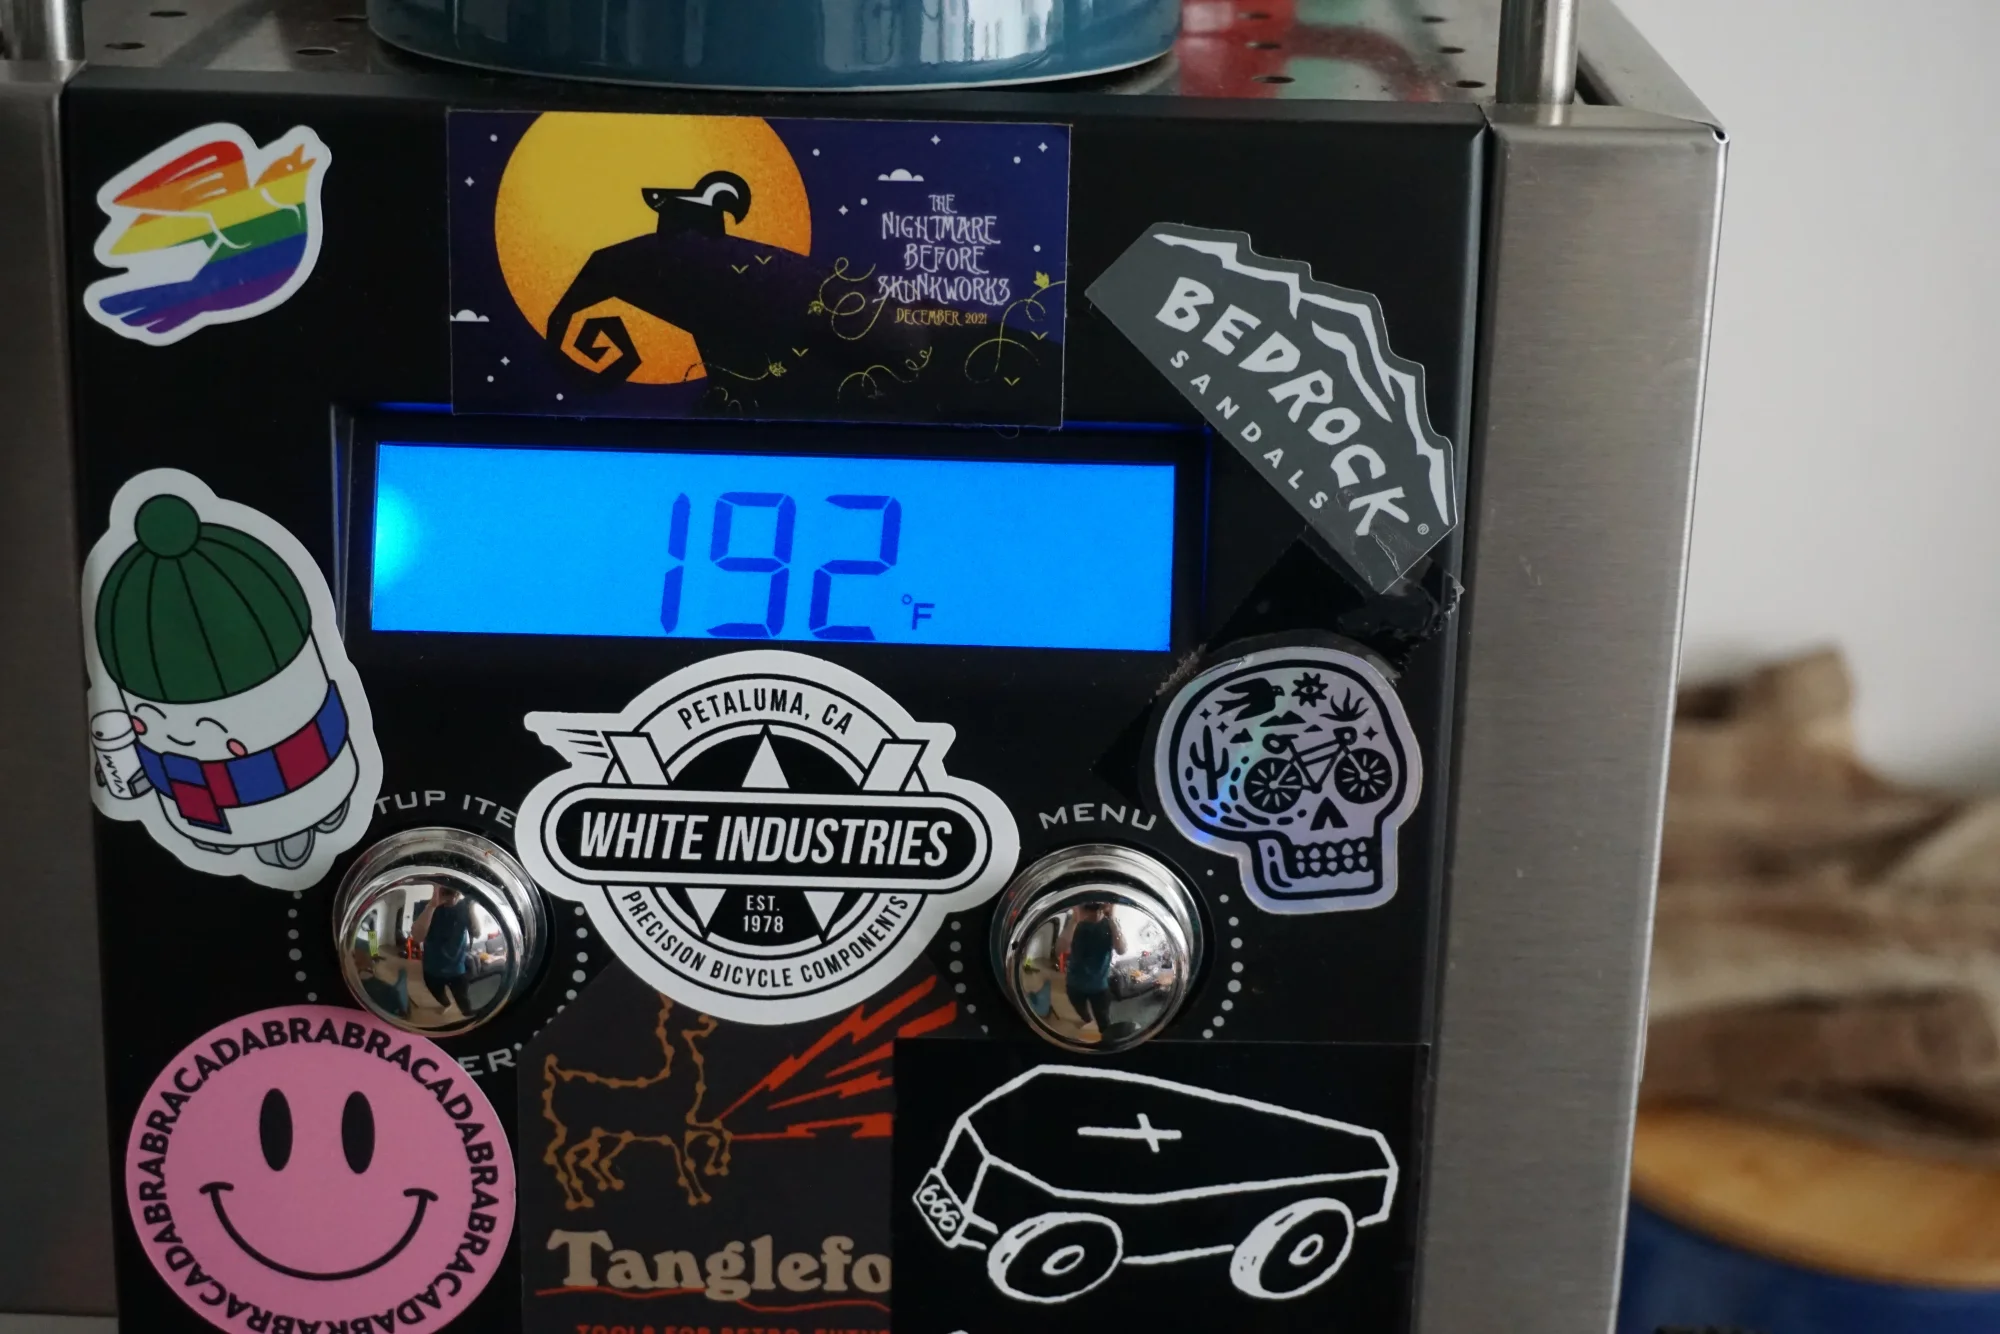
Not the CC1. The CC1 looks a bit like a Gameboy, a labelmaker, and a Gaggia Classic had a baby. The side panels have give, much like the panels on an old Saturn. The LCD feels like an overstocked part from 1999. The button-dials are made of shiny plastic, which does eventually start to wear off. The portafilter is plastic. The drip tray, despite its top stainless steel grate, is unapologetically plastic. Even the "Crossland" logo font on the front plastic looks like the logo of a dead, long-forgotten office tech company you'd spot on the side of an unloved spare office coffee mug in Office Space.
In a way, the CC1 is reminiscent of some of the greats of the coffee world, though. The Aeropress. The Decent espresso machine. The Clever. None win design awards. Each is intelligently designed to use basic, simple materials to their best effect, minimizing weight, heat retention, cleaning effort, and potential drop damage. Sure, you aren't going to toss your CC1 in your hiking backpack and haul it 30 miles like an Aeropress. But it is an appliance you'll keep on a counter and regularly clean off. Doesn't it make sense to use materials that are easy to clean and maintain?
If you want a machine that is objectively beautiful, that non-espresso nerds and espresso nerds alike will fawn over in your home, that inspires lust and envy, the CC1 is not your machine. But if you can tolerate a rock-solid, reliable, and steady appliance -- like a refrigerator or a dryer or a lawnmower -- the CC1 is worth your time.
Workflow
The workflow of the CC1 is well-considered, with a couple of quirks.
Shots Shots Shots Shots Shots

To pull a shot:
- Dismount the portafilter, pour coffee into the basket, and tamp a puck.
- Mount the portafilter, select your shot setting by turning the right button-dial, and wait for the boiler to reach temperature (if it is not already there).
- When the boiler reaches temperature, the machine emits a slightly harsh (but not especially loud) microwave-like BEEP. You are now ready to pull a shot.
- Press the front-right button-dial (marked 'menu/start') to begin a shot.
- Press it again to end the shot prematurely, or wait until you reach your setting's programmed shot time to end the shot automatically. The solenoid will drain the vast majority of liquid from the basket, emitting a faintly unpleasant gurgling sound almost, but not entirely unlike the sounds emitted by the Bog of Eternal Stench.
I strongly recommend configuring a long shot time, up to the maximum of 100 seconds, so you can always pull your shots long if you want to. Otherwise, there's no 'snooze' button to keep the current shot going, and the solenoid will drain potentially tasty long-pulled shots into your drip tray.

Fortunately, the CC1 isn't very picky. I've had success with multiple grinders, from a Orphan Espresso Lido 3, to a Knock Aergrind (!!), all the way to the home barista favorite Niche Zero. Shots pull reliably using the same grind setting, and the shower screen seems to do a decent job preventing the worst of channeling.
The programmable PID (and the always-on temperature display) only support Fahrenheit, which I suppose is over twice as precise as Celsius. But I like to keep my kettle on Celsius, so it's mildly annoying that they don't match.
You can configure preinfusion up to 5 seconds, and a 'waitting time' (yes, that is what the display reads) between preinfusion and shot pulling of up to 10 seconds. 5 and 5 work well for me.
I really love the on-screen timer that keeps track of how long your current shot has been pulling. Now that I'm used to it, I find it annoying to keep track of shot times any other way! However, when you're using a setting with configured preinfusion, be aware that both the preinfusion and waitting time 'count' as part of your shot time. So if you use 5/5 preinfusion/waitting like me, you may want to aim for more like 40-45 second total shot times, according to the timer.
Milk
The steam wand works well. Being a thermoblock (basically a heating element wrapped around the water pipe that connects the wand to the boiler), you won't get super-powerful steam. But you can froth milk beautifully, and since the temperature isn't insanely hot, it's both safer and a little slower, which honestly makes it easier to practice your frothing.
To steam:
-
Turn the right button-dial to the "steam" setting.
-
Click the right button-dial to begin heating the thermoblock.
-
When you hear a beep, the 'steam ready' icon will appear on the screen. This means the thermoblock is up to temperature.
-
Turn the steam dial clockwise to open the steam valve and begin steaming.
Maintenance
First, the water tank is a bit awkward. It's big, so you don't have to refill it very often. But when you do refill it, you should know that removing the entire tank is a big mistake. Instead, pull it out about halfway, and fill it up from a water bottle or a kettle. This way, you don't have to pull out the water intake or outtake tubes, and you won't accidentally crimp them, and you won't spill water from the tubes on the machine or your coffee station!
Second, the documentation and community is better than I'd expect for such a niche product. I've used the manual, some forum posts, and my keen sense of smell to replace a thermal fuse (twice!) and track down a loose gasket. Considering I've never done espresso machine repair work before that and the machine is still running well a few years later, I'm impressed. You used to be able to buy parts from Seattle Coffee Gear, but recently Pantechnicon Design has taken over distribution; both sources are good, small companies that you can trust. And thanks to Pantechnicon, the CC1 now comes in black!
By default, when connected to power, the machine is completely off, and none of the buttons do anything. Press the power switch on back right to turn it on. Fortunately, the switch is easy to toggle even if your CC1 is tucked under a counter with things around it. Even better, the switch feels solid and has no obvious wear after years of daily use.
After 5+ years, with minimal maintenance (occasionally running descaler through the system, using a puck screen to reduce oil backflush, cleaning when the machine gets dirty enough to annoy me), my CC1 is still running very strong, with no obvious problems. If it died tomorrow, I'd buy another. Amortized coffee drinks over 5+ years for two people translate to less than 10 cents per drink (not including the milk or coffee!). And I've gotten way better at pulling shots, estimating grind settings for different roasts, steaming milk, and pouring latte art. Not a bad buy at all.
For maintenance, you can access the interior through the top of the machine, under the warming tray, by removing a grate, loosening 6 screws, and removing a stainless steel panel. The interior consists of some plastic tubing, some copper tubing, a motherboard, a display daughterboard, and some wiring to connect all of that with the buttons, steam wand controls, group head, boiler, and display.